One of the very first things we added to our fifth wheel were three Maxxair II vent covers. Why did we install these? The vent covers that come standard on most RVs are somewhat flimsy and if it rains, water will get in. We’ve also seen RVers forget to close their air vents before traveling. The wind will break them right off. And they become brittle after exposure to the UV rays of the sun and will eventually crack and break.
Maxxair vent covers solve all these problems. This vent cover is easy to install right over the existing vents and allows the existing vents to remain open, even when it’s raining or when you’re driving. It’s also important to leave your vent covers open when the RV is parked for storage to prevent moisture buildup inside the RV, which leads to mildew and stale odors.
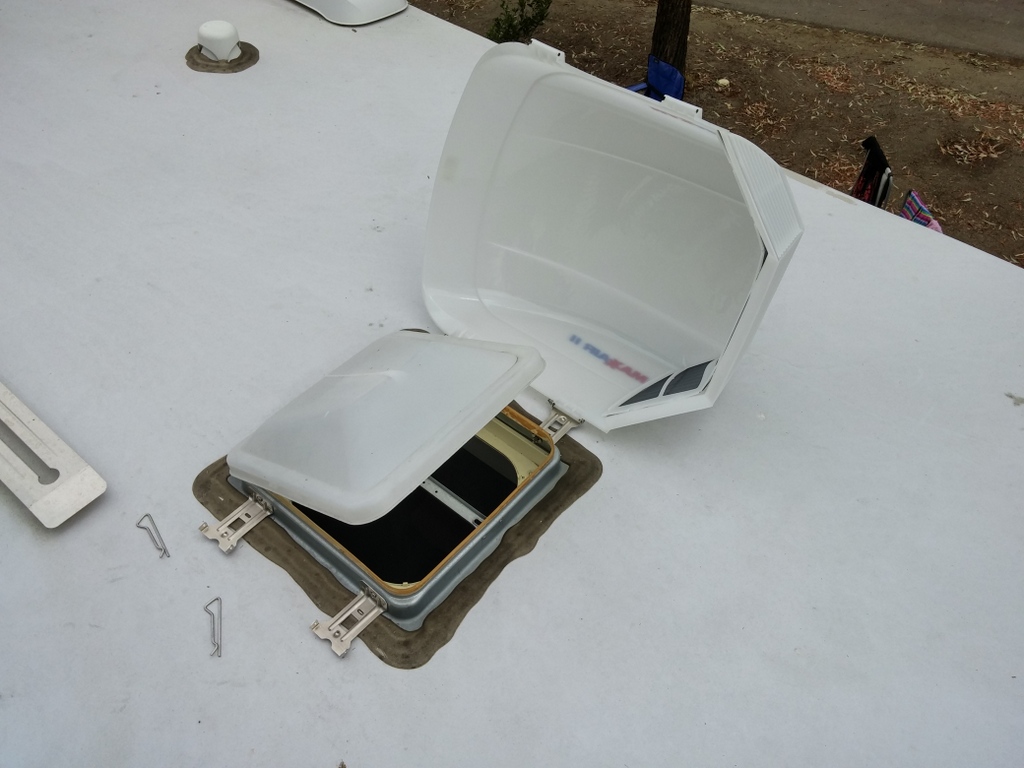
Installing all three of our Maxxairs only took about 30 minutes from start to finish and was very easy to do. The only tools required were a drill, screwdriver, and pencil.
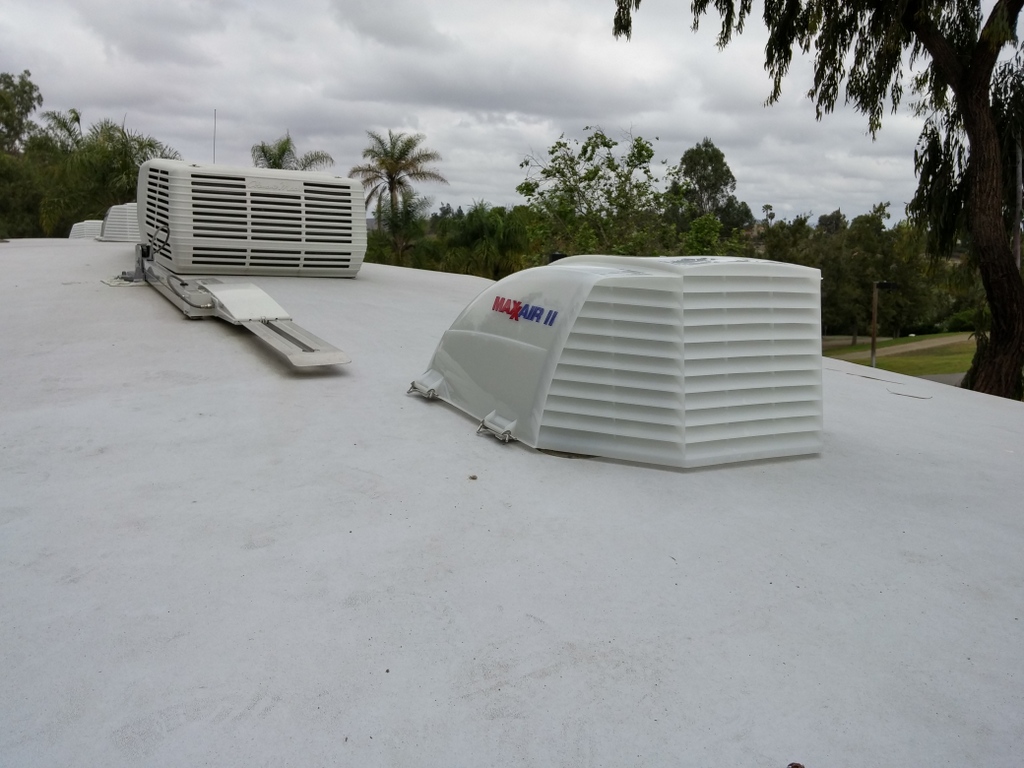
Maxxair II Vent Cover
Maxxair II vent cover installs right over existing vents.
This helpful video walks through the steps required and I recommend watching it first.
We now leave our vents open almost all the time and never worry about rain getting in. We even leave them open when we are traveling and it helps keep the inside of the fifth wheel from getting too hot.
